
Locally and beyond, beauty routines have been sacrificed for the greater good. Trips to visit our sage hairdressers and beloved nail salons have been put on hold in an attempt to practice social distancing. That being said, this doesn’t mean that we all can’t indulge in some #selfcare from the comfort of our homes. In fact, we can still get some high-end beauty treatments, like gel manicures, done at home. Ashley Pak from Hoboken Dream Nails is sharing her tips to removing an old gel manicure and doing one yourself at home. Here’s how to do it:
Removing a Gel Manicure
What You’ll Need
- – 100% acetone
- – Foil
- – Buffer
- – Medium to heavy nail file
- – Nail strengthener
- – Patience
How to Do It
When doing UV gel removal, you’re going to need a glass of wine {not necessary, but why not indulge!}. UV gel is used to create artificial nail extensions. They are hardened using led/ultraviolet light. It lasts longer than regular nail polish and does not chip. These nails have a high gloss finish and can last for two to three weeks. Gel nails are strong, although not as strong as acrylic or fiberglass nails.

Unfortunately, acetone {which we all probably have on hand at home} does not dissolve UV-gel nails, so they have to be removed by an electric file. When at home, buffing your nail with a medium to heavy grit file is the closest you’re going to get to an electric file.

See More: 50 Things to Do at Home So You’re Never Bored

We use color gel on top of your hard gel fill-in. If you want less buffing, Ashley suggests removing your color gel with cotton balls and acetone. Once the color is off, then you can file to your desired length and shape. Removing UV gel all at once will stress your nail beds. You will need to file and smooth out as much as you can. Your nails will feel naked, so apply your favorite nail strengthening polish and let your nails rejuvenate from the nail extensions.
Doing a Gel Manicure at Home
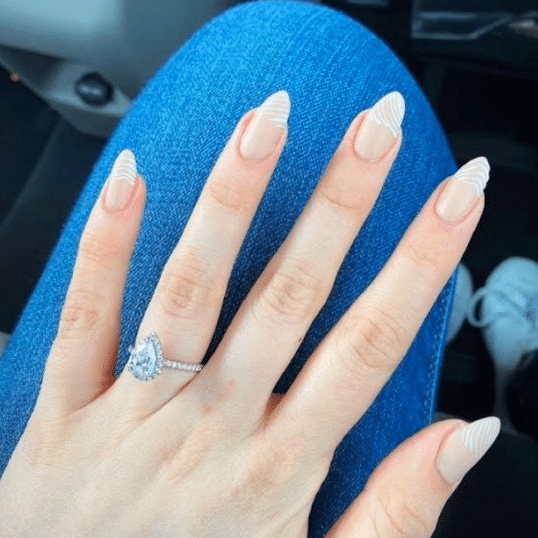
^ An at-home UV Gel fill-in done by Sandra Kolakowski!

What You’ll Need
- – LED/UV light
- – Nail file
- – Gel primer
- – IBD or CND gel
- – Electric File
- – Cuticle push back
- – Gel brush {synthetic}
- – Acetone
- – Color of your choice
How to Do It
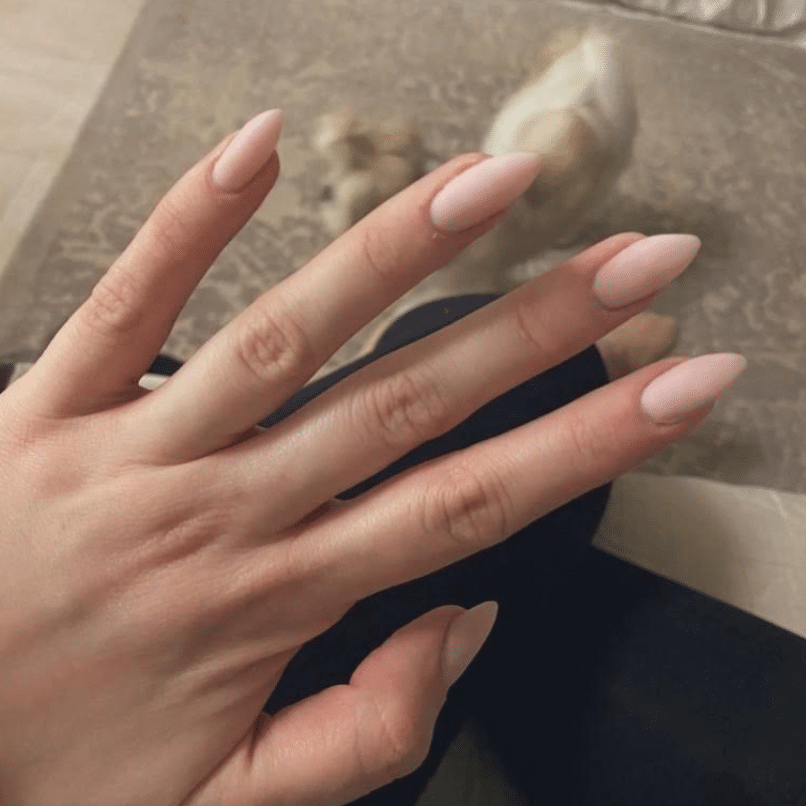
^ Claire Lepore’s finished manicure!
First, use your electric file and make sure you get all your color off. If there is a lift in your nails, file down.
Next, once you’re done filing everything off, wipe off the debris from your nail beds with acetone. Then, push back your cuticles and trim if needed.
Step three is to apply the gel primer to your nails, as this will help the gel adhere to your nails.
Next, use your gel brush and use a pea-sized amount of the gel. Focus on filling in your cuticle area and brush down the rest of the gel. Place your hand under the UV light and dry when you’re happy with the coat. Dry your nails for a full three minutes.
Read More: 8 Tips for Being Your Most Productive While Working from Home
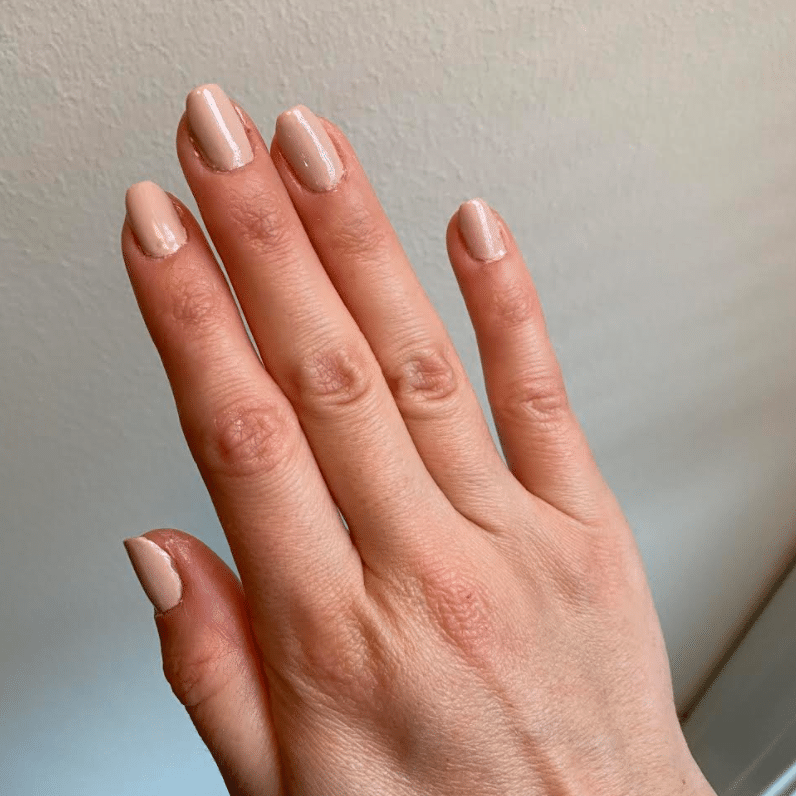
Next, wipe down the tacky layer and file away. Finally, smooth it out. For all the people who love light pink nails, you can leave them the way they are.
Removing Color Gel Manicure + Re-Doing With a Regular Manicure at Home
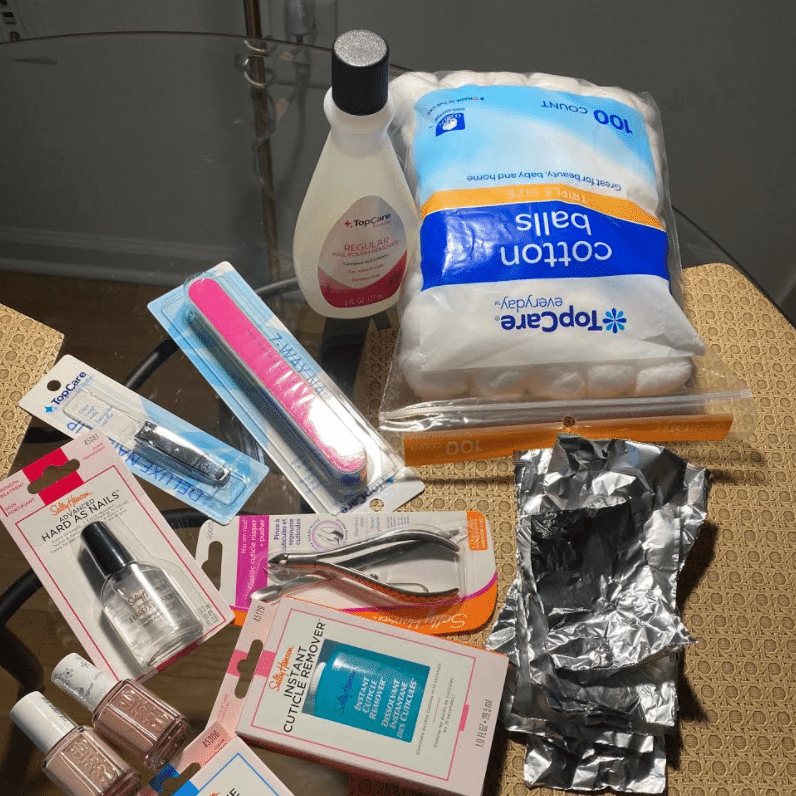
What You’ll Need
- – 100% pure acetone
- – Cotton balls
- – Orange stick/cuticle pusher
- – Nail polish of your choice
- – Nail file {medium grit}
- – Foil {cut into squares}
- – Basecoat Essie or OPI
- – Topcoat Essie or OPI
- – Handcream
- – Wine {a suggestion, if needed}
How to Do It
If anyone has color gel here’s how to remove it + re-do your manicure with a regular manicure.

First, file down the shiny topcoat to make sure there is no shine. Next, soak cotton down to the size of a quarter, and wrap with foil. Let the acetone do its magic. Essie gel takes at least 10 minutes. CND and OPI take under 10 mins.
Next, use the cuticle pusher to remove the gel. At this point, it should crumble off your nail bed. If it doesn’t, soak your nails for longer. Don’t stress your nail beds and force off the gel color.
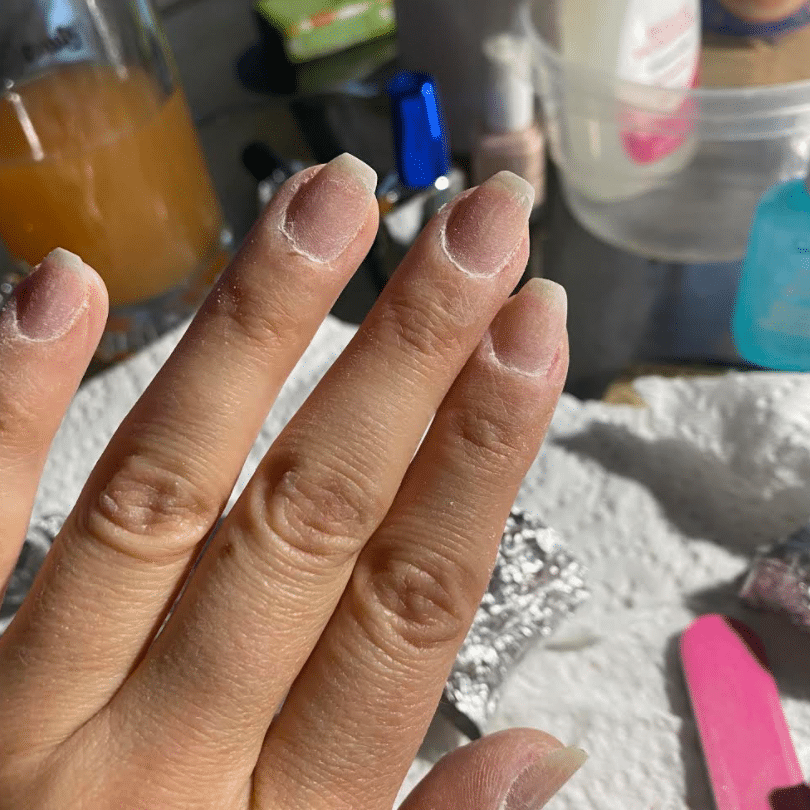
Then, cut and file your nails to your preference — square, round, or almond.
Next, begin your basic manicure! Use the cuticle eliminator or cuticle oil to push back your cuticles, and trim if needed. Massage that cuticle oil in, too. Then, moisturize hands with your favorite hand cream.
Clean the lotion off around your cuticles and nail bed with an orange stick wrapped with cotton {like a q-tip}. Make sure to use 100% acetone.
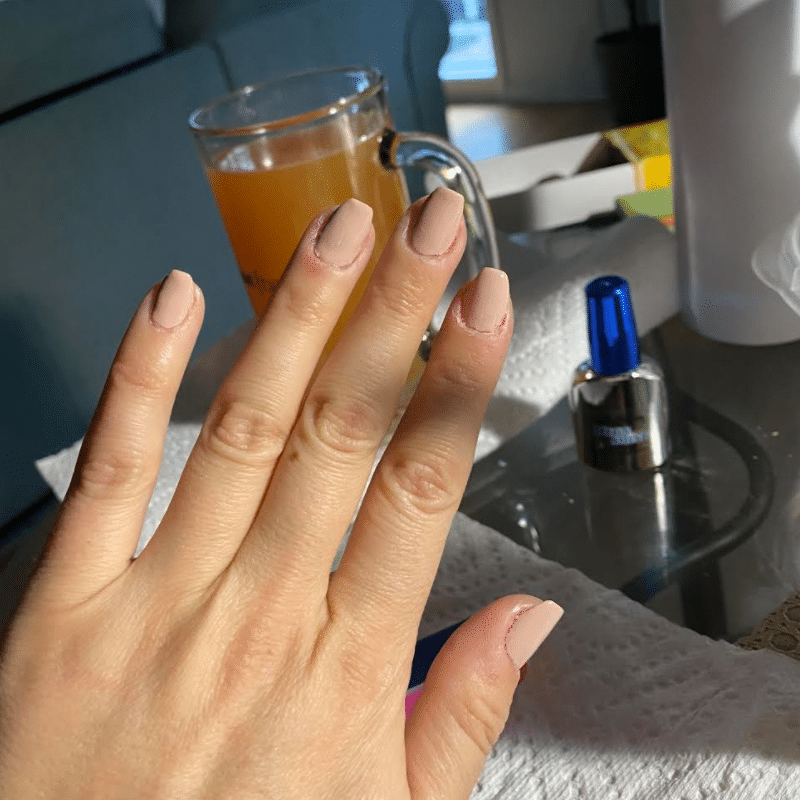
Finally, paint your nails whatever color you want and don’t forget to use a topcoat.
And just like that, your own at-home gel manicure is done. We know this can’t replace that actual indulgent + treat yo’self feeling of going to the nail salon, but it can definitely suffice for now.
What are some of your tips for successfully doing a manicure at home? Let us know in the comments!

Did you know: We started a podcast about all things news and lifestyle in Hoboken + Jersey City! Listen to the latest episode of Tea on the Hudson here and subscribe.
We release new episodes every Tuesday!