

Thanks to quarantine, people are taking up all kinds of new hobbies — we’re tie dyeing, reading up a storm, and even hiking our way to those coveted 10,000 steps a day. But in light of the coronavirus global pandemic, one of the best and healthiest hobbies you can take on is cleaning your home. Especially in the time of COVID-19.
Cleaning is more important than ever. WebMD reports that coronavirus droplets can live on both hard and soft surfaces, although it is more likely to live longer on harder surfaces like metal, glass, wood, and plastic.
“So far, evidence suggests that it’s harder to catch the virus from a soft surface {such as fabric} than it is from frequently touched hard surfaces like elevator buttons or door handles,” wrote Lisa Maragakis, MD, senior director of infection prevention at the Johns Hopkins Health System.

{See More: 57 Clutch Tips for Organizing Your Entire Home}

That being said, WebMD reports that COVID is thought to last the following periods of time on each material:
-
— Aluminum: Lasts 2-8 hours on soda cans, Tinfoil, and water bottles
-
— Cardboard: Lasts 1 day on shipping boxes

-
— Ceramics: Lasts 5 days on dishes, pottery, and mugs
-
— Copper: Lasts 4 hours on pennies, teakettles, and cookware
-
— Fabric: Unknown
-
— Glass: Lasts up to 5 days on drinking glasses, windows, and mirrors
-
— Metal: Lasts 5 days on doorknobs, jewelry, and silverware
-
— Paper: Lasts up to 5 days on newspapers and magazines
-
— Plastic: Lasts 2-3 days on milk bottles, bus seats, and elevator buttons
-
— Stainless steel: Lasts 2-3 days on refrigerators, pots and pans, sinks, and water bottles
-
— Wood: Lasts 4 days on furniture and decking
If those statistics don’t convince you to clean your home once a day, then we don’t know what will! With the threat of coronavirus, cleaning your home frequently is one of the most effective ways to ward off germs, bacteria, and all-around unwanted grime.
But even cleaning has its disadvantages. Often, conventional cleaning products contain dangerous chemicals like formaldehyde, perchloroethylene {PERC}, chlorine, ammonia, and more, AvoMeen reports. These chemicals can cause health complications like allergies, fertility issues, and even increase risk of cancer.
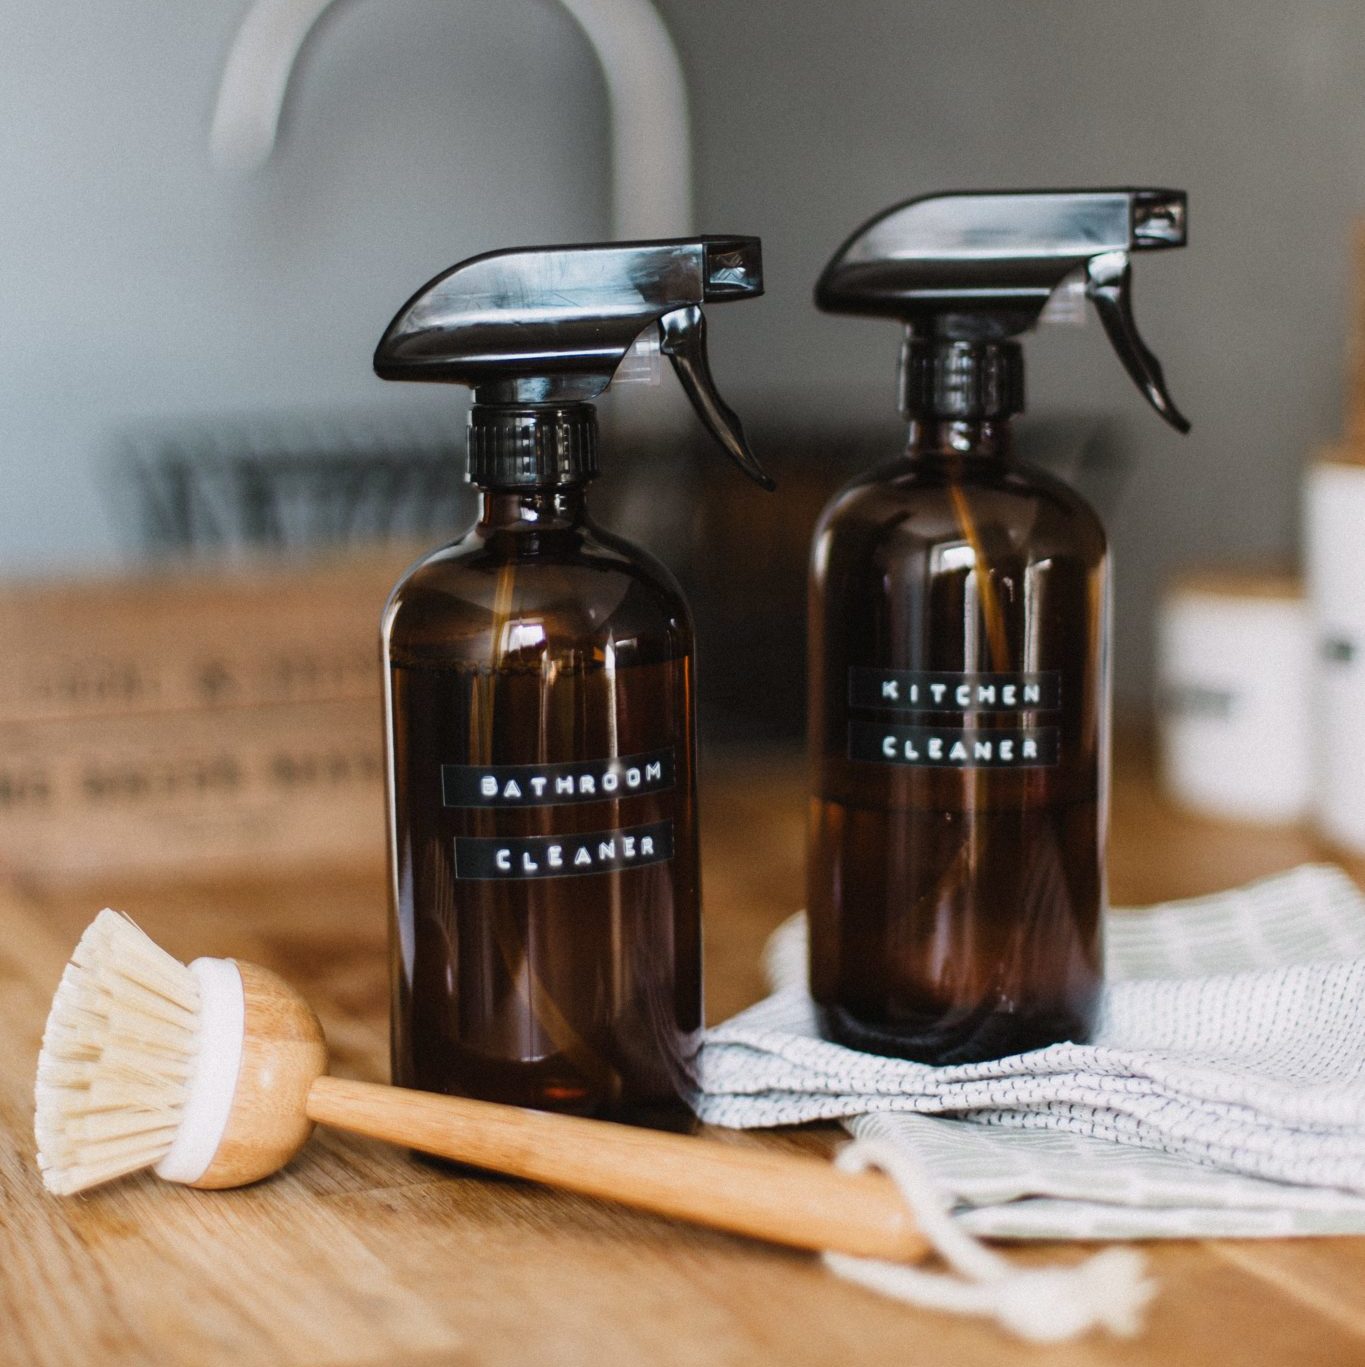
If you want to do clean your home safely without being subjected to the yucky {and often harmful} toxins that come with many traditional cleaning products, check out 40 natural and organic ways to clean your home, room by room.
However, it’s worth noting that the official recommendation by the Centers for Disease Control and Prevention {CDC} is to clean with an Environmental Protection Agency {EPA}- approved disinfectant. These include two disinfectant sprays by Lysol — Lysol Disinfectant Spray EPA #777-99 and Lysol Disinfectant Spray Max Cover Mist #777-127.
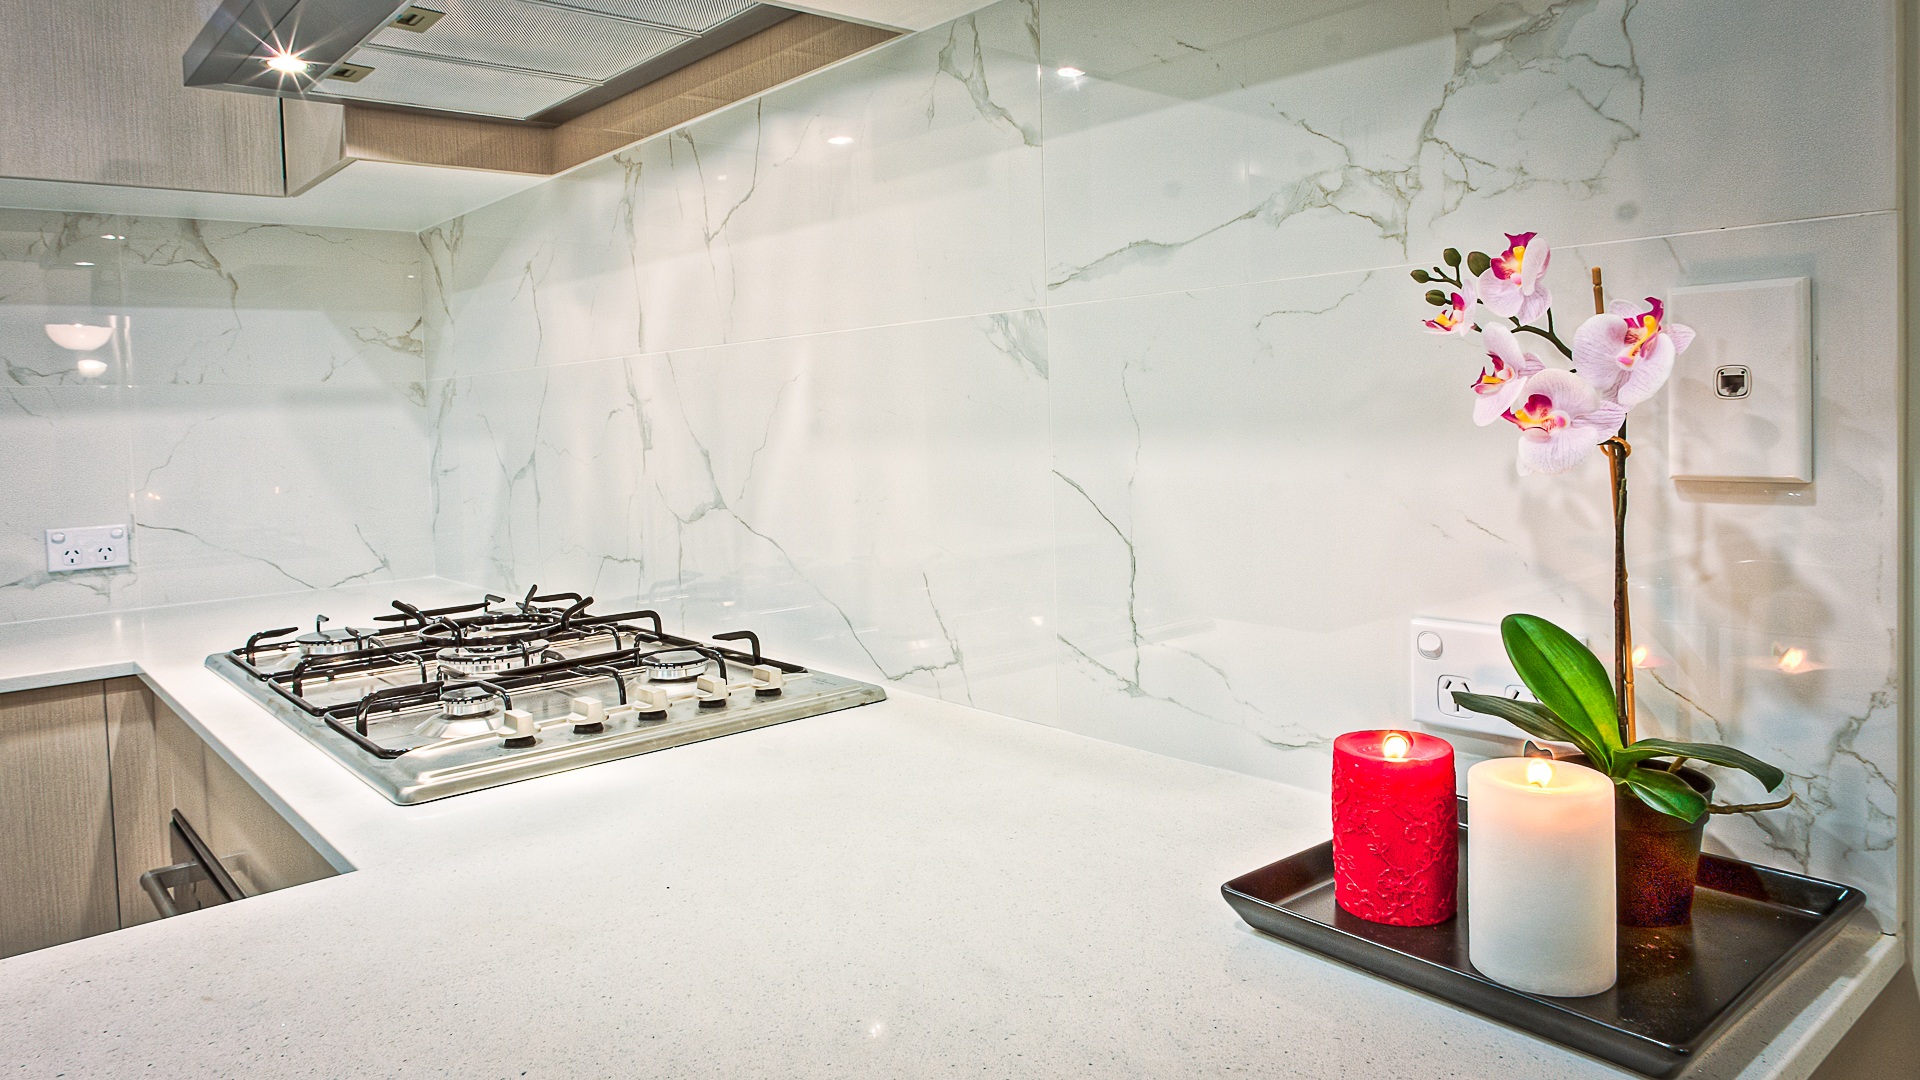
The Kitchen
1. Always wear latex or rubber gloves when cleaning.
Disposable gloves suck for the environment, but are also your best bet for stopping the spread of any germs. If you reuse cleaning gloves, you might be reintroducing old bacteria and germs to your hands again. Alternatively, if you want to use reusables, make sure to really scrub them with soap and water, and don’t put them on again for at least a few days after they’ve dried.
2. Clean all surfaces with soap and water first.
For a real deep clean, be sure to clean all heavily touched surfaces, such as countertops, with a mixture of soap and water first. Then you can go back in with an all-natural cleaner.
3. Mop the floors with vinegar.
Mop the kitchen floor with a mixture of 1/2 cup white distilled vinegar and half a gallon of warm water. Believe it or not, vinegar has powerful anti-microbial properties that cut through viruses and bacteria.
4. Remove hard-water buildup on faucet.
You can do this with nothing more than a lemon. Cut the lemon in half, then press it onto the faucet, using the lemon’s meaty center to clean it. If the lemon doesn’t remove the hard-water buildup from your faucet right away, place a small sandwich baggie over the lemon, securing it with a rubber band. Allow it to sit for 1-2 hours.
5. Clean the microwave with vinegar.
Cleaning the microwave of leftover food residue can be tricky {and time-consuming getting in all those nooks and crannies}. But simply boiling a solution of 1/4 cup white distilled vinegar and 1 cup water in the microwave itself will do the trick. When steam forms on the microwave window, go in and wipe it down with a cloth.
6. Add citrus peels to vinegar cleaning spray.
Add a few orange peels into a mason jar of vinegar. The solution should infuse for at least two weeks, then it will be ready to be used as an all-purpose cleaner.
7. Clean the sink with citrus peels.
And a few other ingredients, of course! A mixture of borax and baking soda makes an effective scouring sink cleaner, but you’ll also need half a grapefruit as your sponge. Add the borax and baking soda onto the grapefruit, then use it to scrub the sink.
8. Clean windows with vinegar.
Mix a solution of distilled white vinegar and water, making sure to include equal parts. Apply to windows with a spray bottle, then wipe windows clean with a wet squeegee.
9. Ground grapefruit into a fine powder.
Using a blender, food processor, or coffee grinder, grind grapefruit into a fine powder. Add 5 tablespoons of baking soda and 3 tablespoons of borax. Combine in a shaker, then shake the cleaning solution into the sink. Let it sit, then clean with a wet sponge.
10. Make all-purpose cleaner spray with vodka.
If you’re not loving the smell of vinegar for your all-purpose cleaner spray, you can use vodka as your disinfecting base. Add 4 parts vodka, 8 parts vinegar, and 4 ounces of lemon juice to a spray bottle. Shake and add 3 drops of Dr. Bronner’s castile soap. The 4 parts vodka will equalize that strong vinegar smell.
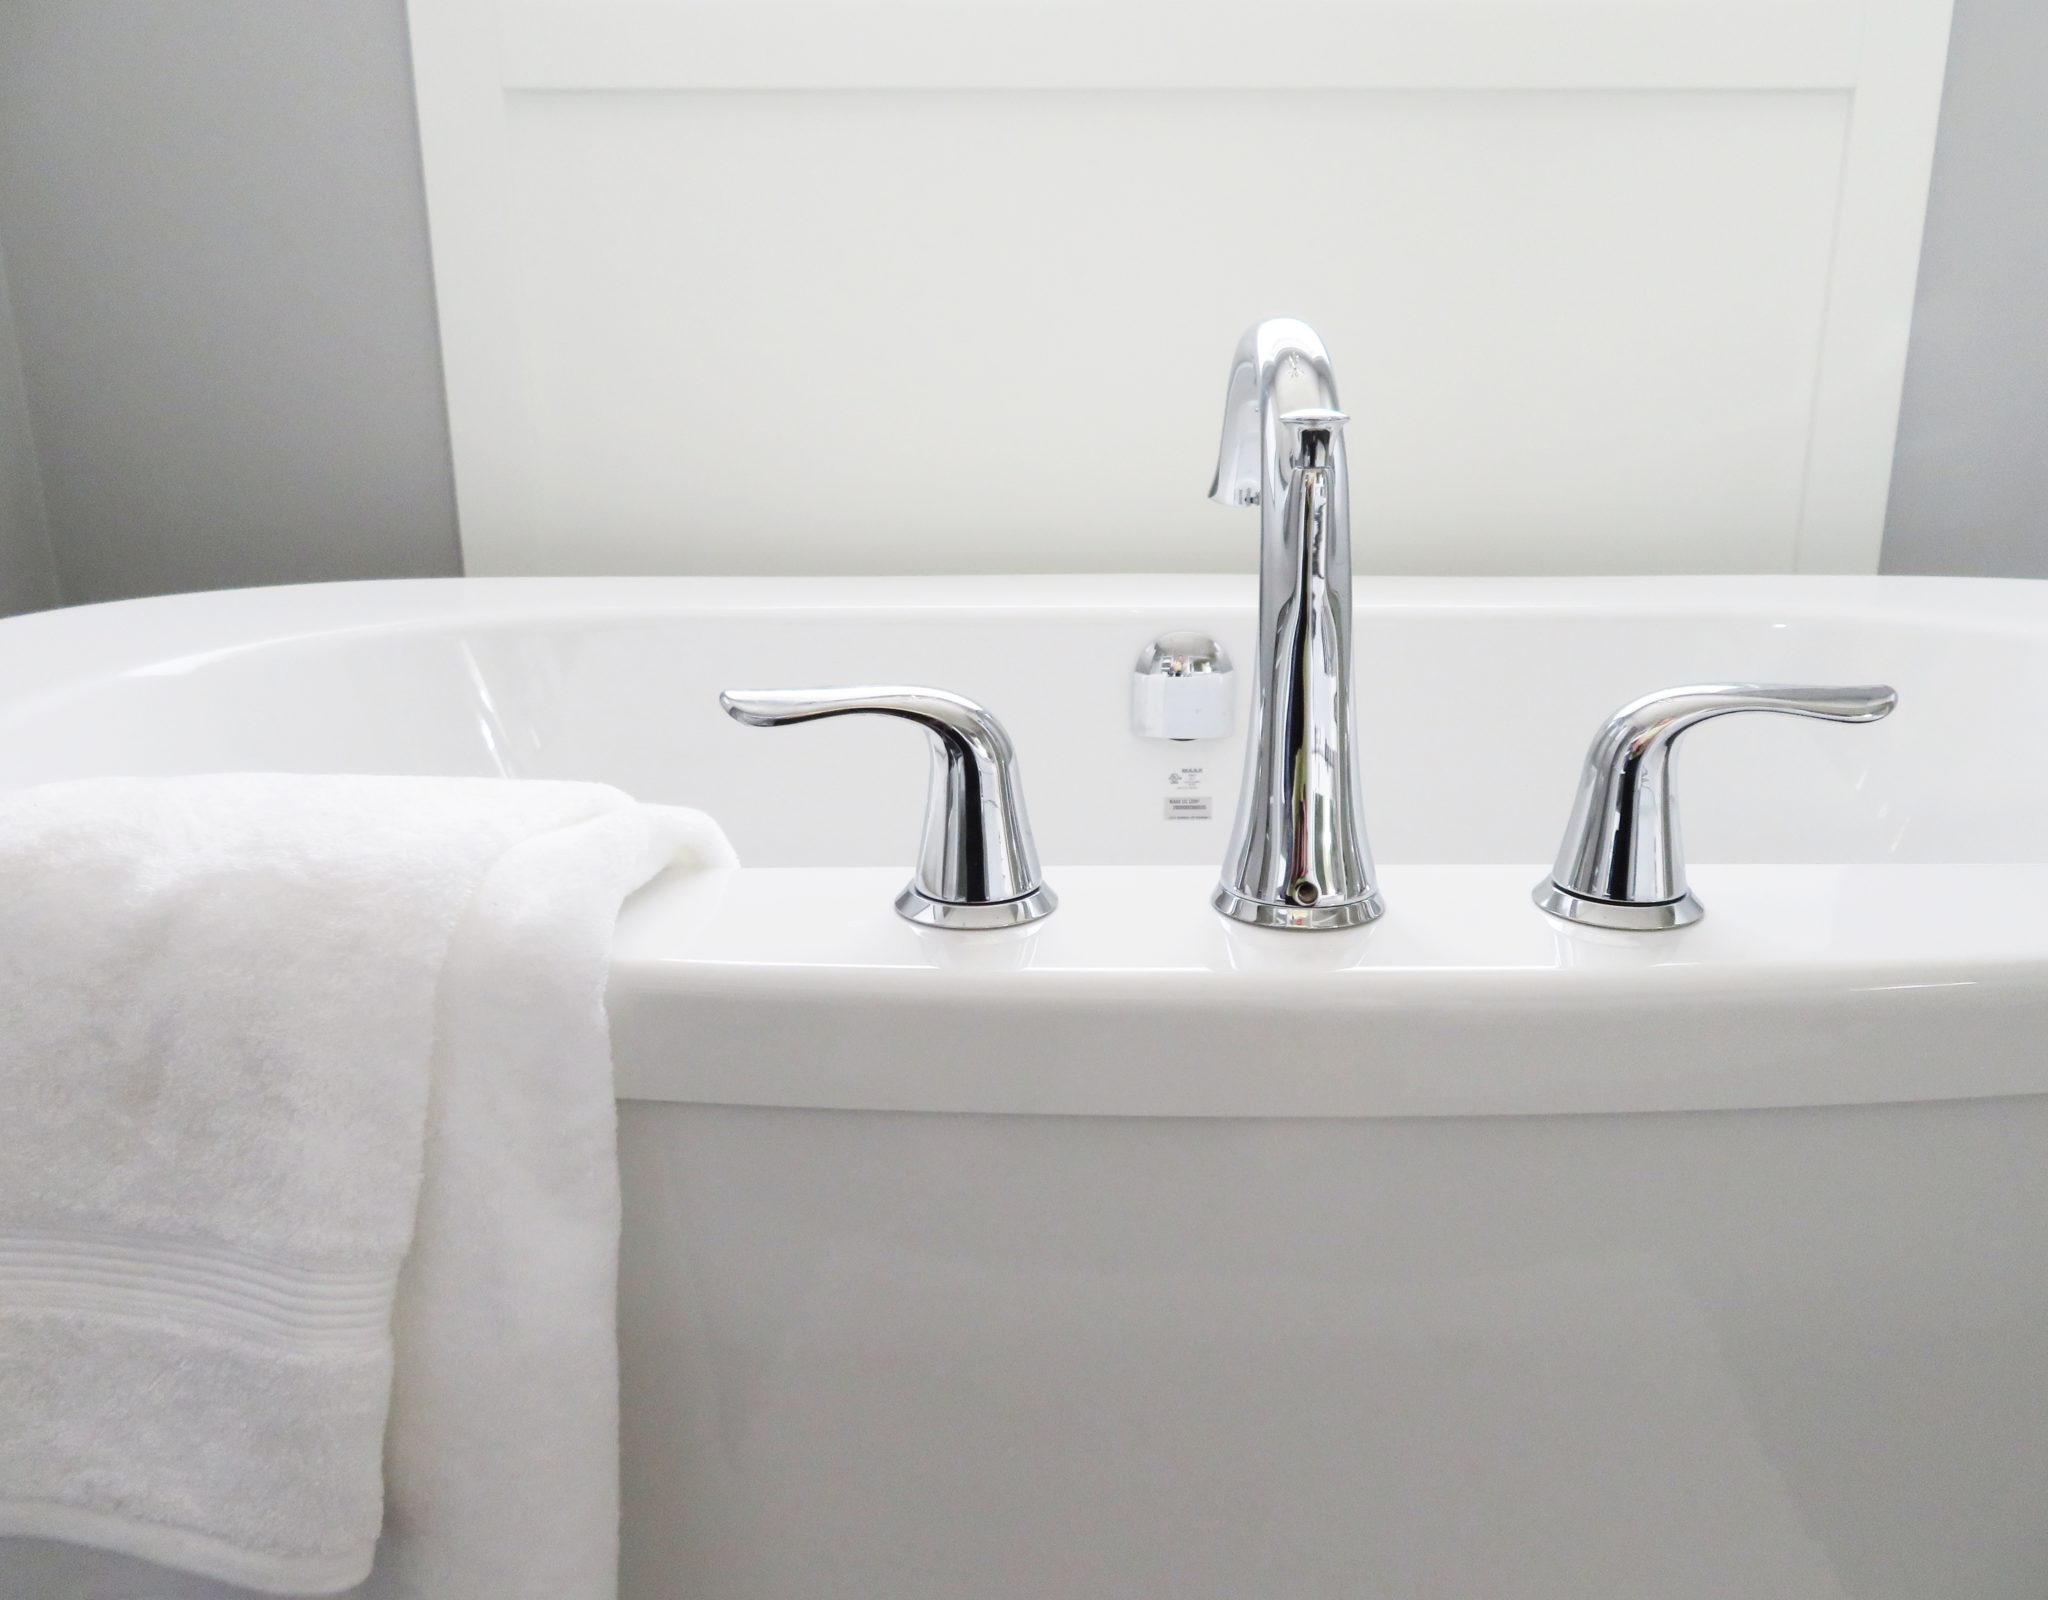
The Bathroom
11. Make reusable cleansing wipes.
Mix 2 cups of dish soap with 2 cups of water, then add 10 drops of your favorite essential oil. {Citrus essential oil has antimicrobial properties and has even been known to ward off the flu.} Put reusable washcloths into a glass jar, pouring the soap-water-essential oil mixture over the top. When not using your reusable cleansing wipes, be sure to seal the jar. You can reuse these wipes after washing them, but you’ll have to add the ingredients all over again.
12. Clean the toilet bowl with natural ingredients.
Add the following ingredients into a squirt bottle: 1 cup boiled water, 1/2 cup castile soap, and 15-30 drops of lavender, tea tree, or citrus essential oil. Next, add 1/2 cup of baking soda. Shake lightly to combine, then place the top back on the squirt bottle. Shake the bottle again, then squirt onto the sides of the toilet bowl. Let it sit, then flush. You might have to use a toilet brush to scrub a bit before flushing.
13. Use reusable disinfecting wipes.
Place reusable washcloths in a jar, then pour a mixture of 2 cups rubbing alcohol, 3 teaspoons of dish soap, and 10 essential oil drops into the jar. When not using the reusable disinfectant wipes, make sure to seal the jar. Same rules as the reusable cleansing wipes; these can be washed, but the disinfecting ingredients must be added again before reusing them.
14. Clean showers with baking soda.
Make a paste out of baking soda and water, then use it to clean yucky gunk in the shower and tub.
15. Use vinegar on hard-to-clean stains.
If baking soda and water doesn’t work, spray vinegar-based disinfectant on any hard-to-clean stains in the shower or bathtub.
16. Make homemade scouring powder.
Make your own homemade scouring powder for really tough stains by mixing 1 cup baking soda, 1/2 cup salt, 1/2 cup washing soda, and 5 drops of lemon essential oil in a jar. Mix the ingredients well, then apply it to the stain, letting it sit for at least 5 minutes.
17. Sprinkle baking soda inside the toilet.
You can do this as often as once a week. {It might just make your toilet bowl deep cleans a little less necessary and a lot less frequent.} Also sprinkle some baking soda under the toilet bowl caps as well. We all know those areas can get pretty disgusting.
18. Use baking soda to clean grout.
Bathroom grout not looking as bright as it once did? Sprinkle baking soda on the floors, then follow up by spraying it with undiluted hydrogen peroxide. Then, scrub it using a toothbrush. {One that you will never use again.}
19. DIY all-natural air freshener with baking soda.
Simply add 1/2 cup of baking soda and 8-12 drops of your favorite scent of essential oil. Cover the jar with light paper, making sure its adhered well, then using a scissor or needle, poke a few holes in the paper. This will keep the bathroom smelling fresh without harsh chemicals.
20. Use lemons on hard-water stains.
Hard-water stains don’t just find their way onto the kitchen sink. They can pop up in the bathroom, too. Use half a lemon to address any hard-water stains. If a quick lemon scrub-down doesn’t work, let the lemon sit on the hard-water stain for 1-2 hours. You can adhere the lemon using a sandwich baggie and rubber band.
The Bedroom(s)

21. Clean bedroom furniture of dust.
Combine the juice of half a lemon with a tablespoon of olive oil and a tablespoon of water. Stir to mix, then apply to furniture to keep it dust-free.
22. Stinky carpet? Sprinkle baking soda.
Sprinkle baking soda on any carpet that needs a refresh. Let it sit overnight so that it can really absorb any odors left behind. Don’t vacuum it up; this can cause damage to your vacuum.
23. Handwash feather down and/or foam pillows.
Handwash feather down and/or foam pillows with warm, soapy water and let them air dry. Do this four times a year.
24. Take a cotton mop to the walls.
Dust builds up on the walls and in the corners of your home, too. Take either a cotton mop or reusable duster to the walls. Can’t reach? Throw an extension on the vacuum to suck up any out-of-reach cobwebs.
25. Wash light fixtures.
Say what? If the globes in your light fixtures are removable, remove them and wash them in the sink with soapy water. If they can’t be removed, dust them least once a month.
26. Vacuum the vents.
Air conditioning and heating vents are prone to collecting dust. Instead of using a duster or mop, just vacuum the surfaces of the vents.
27. Put a pillowcase on the ceiling fan.
Place a pillowcase on each blade of the ceiling fan, then wipe the surface of the ceiling fan with a damp washcloth or microfiber cloth. The pillowcases will catch any fallout from the dust, that way it doesn’t just end up on your floor or bed.
28. Disinfect the light switches, door knobs, and hardware.
Use the all-natural, all-purpose cleaner of your choice, but make sure not to ignore these areas.
29. Take a microfiber cloth to the window sill.
Microfiber cloths are great for cleaning laptop and phone screens, but they’re also ideal for dusting the window sill. Dusters or mops will just move the dust around in these nooks and crannies, but a wet microfiber cloth will hold onto any residual dust.
30. Vacuum the mattress.
While the duvet, comforter, sheets, and mattress topper are in the wash, take a handheld vacuum extension to the top of your mattress. Do this at least once a month. While you’re at it, you might want to turn your mattress if you haven’t in a while. This keeps it feeling plump all around rather than developing lumps or “soft spots.” Rotate your mattress every 4-6 months.
The Laundry
31. Strip the bedroom sheets once a week.
And not just the sheets. Comforters, pillowcases, and the mattress cover should be washed about once a week.
32. Wash the down comforter at least once a month.
Machine wash in cool water, then set the dryer temperature to low. Throw a wool dryer ball in there as well. Interfere with the dry cycle every 20 minutes, using your hands to break up any clumps that may occur in the comforter. Don’t pull it out of the wash until completely dry.
33. Laundry strip your clothes, towels, and sheets once a year.
Laundry stripping is a form of deep-cleaning textiles. Let your sheets or towels {just do them separately} soak in a bathtub full of hot water, 1/2 cup washing soda, 1/4 cup natural laundry detergent, and 4 capfuls of Thieves household cleaner. Textiles should be fully submerged and should soak for anywhere for 4-6 hours. You will be left with a tub full of brown water. Remove the textiles, drain the tub, and run through a rinse-only cycle in the washer, then tumble-dry without any dryer sheets.
34. Use wool dryer balls.
You can add a few drops of essential oils to the wool dryer balls to add a refreshing scent to your laundry. Also, choose wool dryer balls instead of tennis balls. They just don’t get the job done.
35. Add lavender packets to the dryer.
Lavender packets can add a fresh scent to the laundry. You can make a satchel yourself with lavender and cloth, or you can pick them up at Trader Joe’s.
36. Skip the fabric softener.
Sure, it adds a nice smell and maybe makes your clothes softer, but it’s usually full of irritating chemicals. Add 1/2 cup of baking soda to the laundry’s wash cycle instead.
37. Make dryer sheets out of vinegar washcloths.
Add a little bit of apple cinder vinegar to a washcloth, then throw it in the dryer along with your laundry. It will work similar to a dryer sheet! It makes your clothes softer and prevents static cling.
38. Use aluminum foil instead of dryer sheets.
Crumple up a small strip of aluminum foil into a ball, then add it to the dryer along with your laundry. It gets rid of static cling and it’s also reusable.
39. “Iron” clothes with ice cubes.
Need to get rid of wrinkles in your clothes? Throw them back in the dryer along with two ice cubes. Dry on the warmest setting. The ice cube will create steam, which will then stave out any wrinkles.
40. Fold your clothes immediately.
If you fold your laundry while it’s still warm from the dryer, it naturally eliminates any wrinkles. After all, wrinkles set in the longer your laundry sits.
Got a news tip? Let us know — email us at hello@hobokengirl.com! We appreciate it.
Check out Hoboken Girl’s new Job Board here!