Parents are exhausting all efforts to keep their kids entertained at home while #socialdistancing. From arts and crafts to productive activities to keep their minds busy, parents are truly doing it all. One activity in particular that the whole family can enjoy, however, is baking.
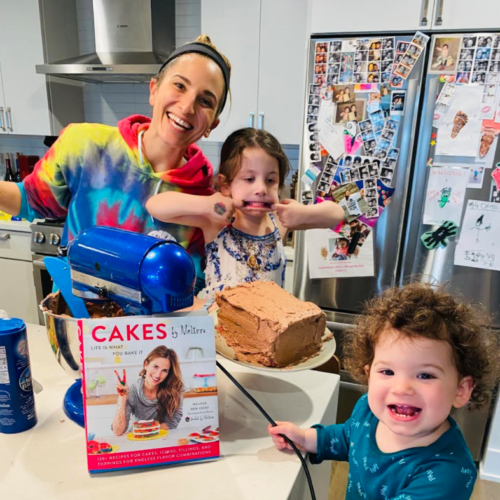
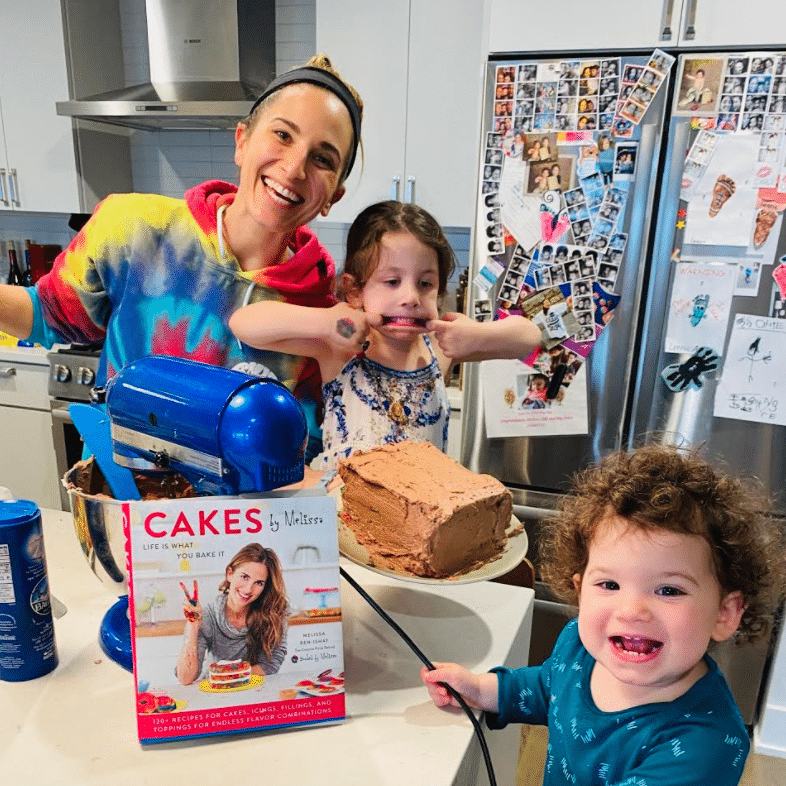
Local mom + mastermind behind Baked by Melissa, Melissa Ben-Ishay, is sharing a few delicious + fun baking ideas to try at home with the kids to keep them busy and satisfy any sweets caving the whole family has. Here is her delicious + colorful recipe.
About Tie-Dye Cakes

The Tie-Dye Cupcake was Melissa’s very first and signature flavor, and it quickly became a fan-favorite. Twelve years later and this Tie-Dye cake recipe is still one of Melissa’s favorites to make — it’s bright, colorful, and happy, which also makes it the perfect mood-booster.
Although time-consuming to make, it’s still the perfect baking activity to do with your kids when you have no other plans {thank you, #quarantinelife}. So go ahead, put on your favorite baking outfit {a tie-dye sweatsuit is Melissa’s choice}, and follow along with the recipe + tips below.


See More: 3 Delicious, Chef-Approved Recipes to Make with Chickpeas
Melissa’s Pre-Baking Tips

In Melissa’s experience, getting your kids excited about the activity the day before you do it is half the fun. When she’s getting ready to bake with her girls, Melissa always gives them a heads up at least a few hours before.
Start baking immediately after lunch, this way, your kids can have fun and lick the batter without you having to patrol them so they don’t spoil their lunch. Before you start baking, take a second to remind yourself that your kids are about to eat a lot of junk and that it’s OK!
Utilize “ms en elace” — this French term translates literally to “put in place,” in the culinary world means to prep and pre-measure your ingredients ahead of time. This will not only make the process more fun for the kids, but also help to avoid more mess and spills than you’ll already likely have. And a note on ingredients — for food coloring Melissa highly recommends food GEL, as opposed to liquid. It creates much brighter colors.
Baking Tips
When it comes to creating the cake layers, just work with whatever baking vessels you have. Melissa used one large sheet pan, cut into three layers, but you could decorate the entire pan as one flat sheet. If you don’t have a sheet pan, a few nine-inch round or square pans will work just as well. And don’t stress about the bake time — just take the cake out of the oven when the edges start to brown, or once you can stick a toothpick in and it comes out clean.
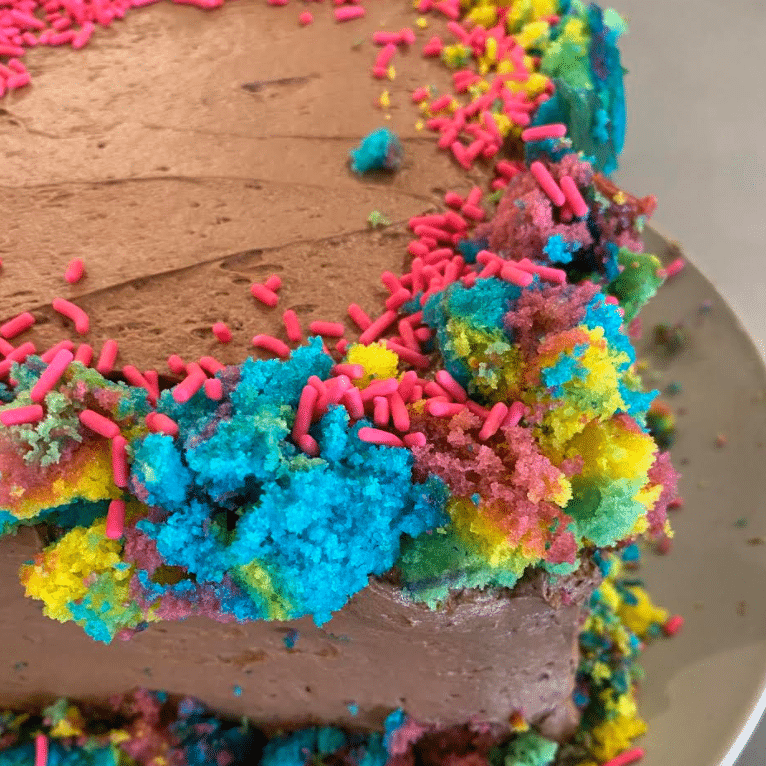
Once you have your cake in the oven, manage your kids’ expectations. You won’t be able to ice the cake for a few hours, once you’ve allowed the cake to fully cool. Melissa used chocolate icing, but feel free to substitute it with any icing recipe your family loves. When you’re ready to decorate, get creative with any fun toppings you have in your pantry — chocolate chips, sprinkles, crushed cookies, anything — go crazy! If you want even more color, you can even add a glaze. Melissa loves using the leftover parts of the cake as a topping. She also recommends putting the toppings into small bowls so if your kids can snack on them along the way, they aren’t eating the whole bag.
Before you know it, you’ll have a beautifully finished cake. If you’re worried you’ll have too much leftover, share with your neighbors! Because right now, we could all use a little something to make life sweeter.
The Ingredients
Vanilla Cake
First, you’ll need to make a classic vanilla cake, here’s how to do it:
What You’ll Need
- – 1/2 pound {two sticks} unsalted butter
- – 2 cups granulated sugar
- – 2 teaspoons of pure vanilla extract
- – 4 large eggs
- – 3 cups all-purpose flour
- – 2 teaspoons of baking powder
- – 1/4 teaspoon sea salt
- – 1 3/4 cups whole milk {or buttermilk; let the cup overflow a bit}
How to Make It
First, with a hand mixer or a stand mixer fitted with the paddle attachment, whip the butter for one minute on high speed, then scrape down the sides of the bowl with a spatula. Add the granulated sugar and beat on high speed for two minutes. Scrape down the sides of the bowl again. Add the vanilla extract. While mixing at medium-low speed, add the eggs one at a time. Scrape down the edges of the bowl midway through.
Then, combine the flour, baking powder, and sea salt in a separate bowl. With the mixer on low speed, add half the flour mixture. When it’s mostly incorporated, add half the milk. Add the remainder of the dry and wet ingredients, scraping down the sides of the bowl between additions. Stop mixing as soon as you have a smooth batter.
Chocolate Icing
Next, you’ll need some chocolate icing. Here’s how to make it:
What You’ll Need
- – 1/2 pound {2 sticks} unsalted butter, at room temperature
- – 1 teaspoon of vanilla extract
- – 3 3/4 cups of confectioners’ sugar
- – 1 cup of unsweetened cocoa powder
- – 1/4 teaspoon of fine sea salt
- – ½ cup of heavy cream
How to Make It
First, with a hand mixer or a stand mixer fitted with the whisk attachment, whip the butter on high speed for one minute. Add the vanilla and whip just to incorporate it.
Then, in a separate bowl, mix the confectioners’ sugar, cocoa, and salt. With the mixer on low-speed {otherwise, you’ll be covered in powdered sugar}, add the sugar-cocoa mixture one cup at a time until completely incorporated. Scrape down the sides of the bowl between additions. Whip on high speed for two minutes, until light and fluffy. Add the cream and whip on high for two minutes more.
Vanilla Glaze {Optional}
Finally, you might want to add a vanilla glaze — here’s how to make it.
What You’ll Need
- – 2 cups of confectioners’ sugar
- – 4 tablespoons of whole milk, at room temperature, plus more as needed
- – 1/2 teaspoon of pure vanilla extract
How to Make It
First, with a hand mixer or a stand mixer fitted with the whisk attachment, combine the confectioners’ sugar, milk, and vanilla. Mix on low speed until smooth. If the glaze is too thick, add a little more milk to thin it to the desired consistency.
If not using within 10 minutes of mixing, cover the bowl with plastic wrap to keep the glaze from drying out. Store at room temperature.
Read More: Hoboken Chef Julie Hartigan Shares Her Easy Pantry-Friendly Recipes
The Tie-Dye Cake
And now for the main event — the tie-dye cake! Here’s how to make it at home.
How to Make It
First, preheat the oven to 350 degrees F. Butter three nine-inch round cake pans or line them with wax paper or parchment paper and butter the paper.
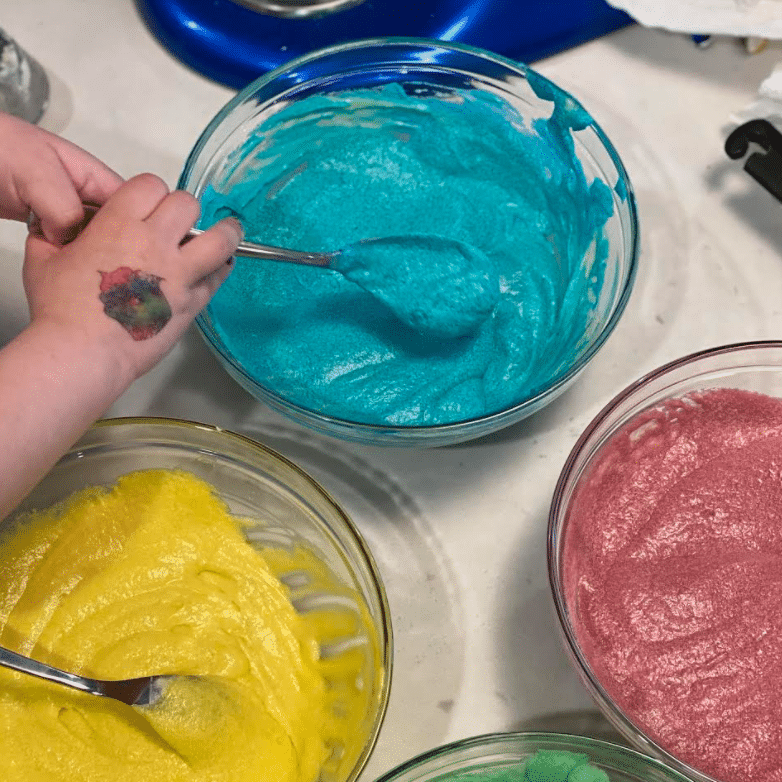
Then, divide the vanilla batter evenly among five small bowls. Add food coloring to each bowl — one drop at a time — until the desired intensity of each color is reached. Scoop each color into a disposable pastry bag and snip the tip of the bag. Pipe the batter into the first pan, one color at a time, one over the next. Repeat with the remaining two pans.
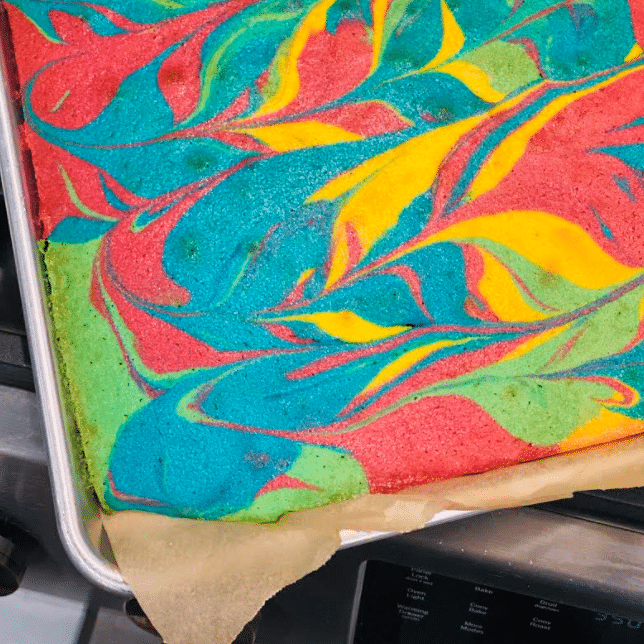
Next, to make the tie-dye effect, carefully drag a skewer completely through the batter from the center out to create a pattern with the colors. Don’t over mix the colors.
Bake until the middle of the cake feels springy when you gently press your finger against it, 35 to 40 minutes. Set the cakes aside to cool completely before icing.
Next, level the cakes with a serrated knife. Place one layer on a cake turntable and frost the top with vanilla icing. Add the second cake layer and frost the top. Place the third layer on top and cover the entire cake with a “crumb” coat of vanilla icing. Melissa does a crumb coat — a thin layer of icing spread around the cake to seal in all the crumbs and ensure a neat finish. Unless it’s a chocolate cake, the crumb coat is done with vanilla icing. It looks so clean and creates a nice blank canvas for decorating.
Then, divide the vanilla glaze between two mixing bowls. Add pink food coloring to one bowl and blue food coloring to the other bowl — one drop at a time — until the desired intensity of each color is reached. The food coloring will thin out the glaze a bit. You can always add more liquid, but you can’t take it away. Working with an offset spatula, spread pink glaze over the top of the cake and let it drip down the sides. Spread the blue glaze over the pink, but do not let it completely cover the pink.
Finally, spoon more pink glaze onto the center of the cake top. Alternate the glazes just like you did with the batter. Use a skewer to pull the glaze from the center out to the edge and make the tie-dye design. Work quickly before the glaze starts to dry.
Will you be making this delicious cake at home? Let us know in the comments!

Did you know: We started a podcast about all things news and lifestyle in Hoboken + Jersey City! Listen to the latest episode of Tea on the Hudson here and subscribe.