
Gallery walls can really help to refine a space, adding color, intrigue or a general warmth to your home. But the idea of hanging a bunch of pictures in a major part of your house can seem daunting. How do you choose the right pieces of artwork or photographs to display? Do you need a theme? What types of frames should you use? What size should each piece be {and does it even matter?} And most importantly, how do you begin the process?!
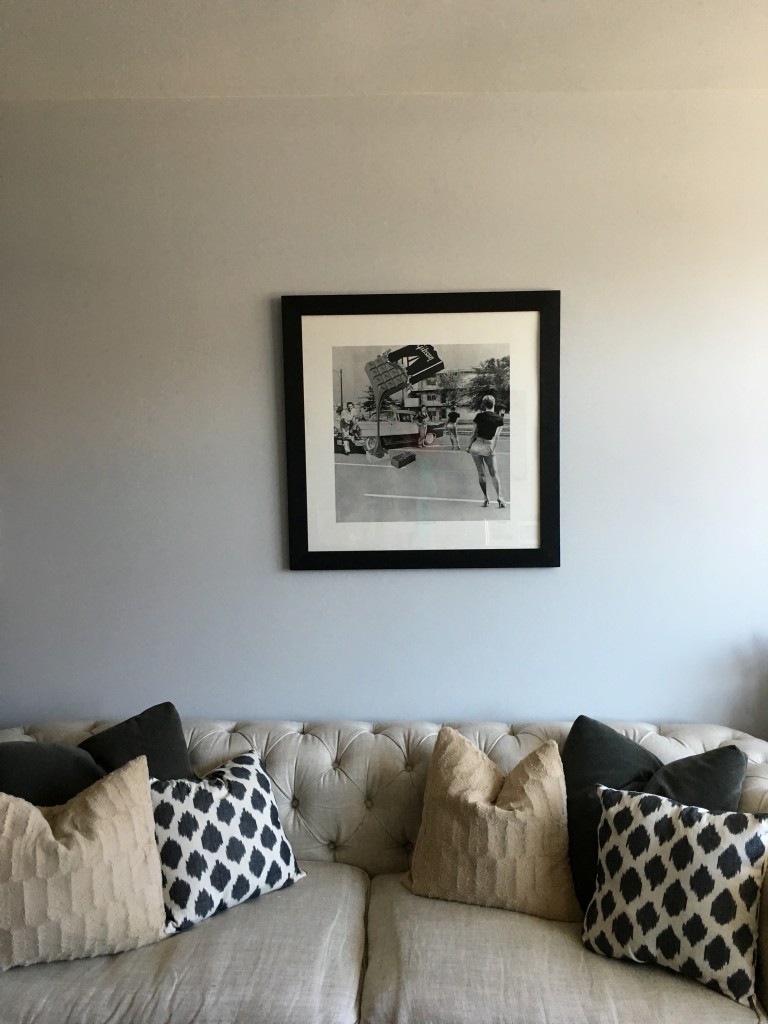
I’ve wanted to put up a gallery wall since we moved into our condo and now that I’ve {finally!} collected all of the pieces I’d like to hang, I think it’s time. So, I decided to document the process and share my top tips for planning and styling the perfect gallery wall. Here’s a before shot of the wall. As you can see, we only had one large piece of artwork hung {and the wall looked pretty bare}:
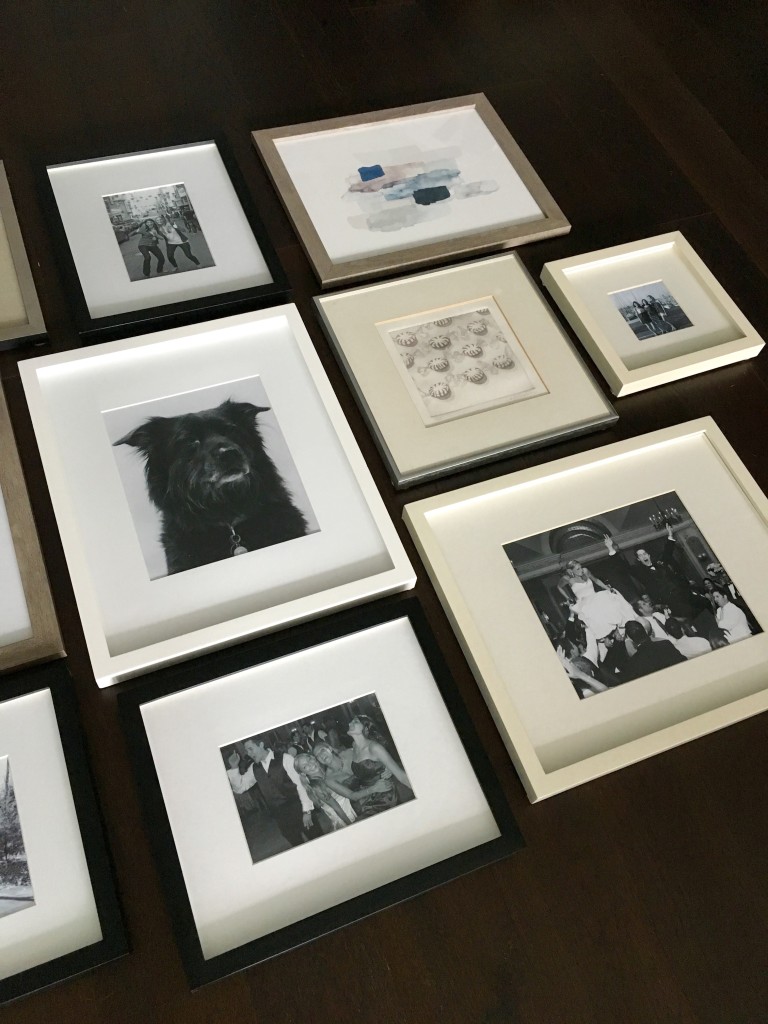
Tip #1: Curate your collection. Before you do anything, you must have the right pieces {and enough of them} to hang. Think about mixing both current and older photographs with some favorite artwork or posters. The biggest mistake I see people make is trying to spread a small collection of artwork across a very large wall. If you don’t have enough frames to fill an entire space at first, don’t worry! You can always add more. It’s better to start off with a small grouping and work your way outward, vs. spreading them too thin from the start.
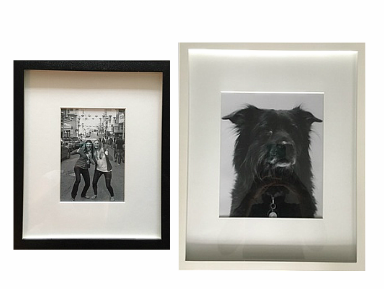
Tip # 2: Make it meaningful. Your wall can be made up of anything so don’t feel pressured to follow any hard and fast rules. The most important thing to remember is that the wall should be meaningful and reflect your personality. So if you’re really into black and white photos of family and friends {or your dog}, go with that.


If you’d rather create a wall of colorful abstracts or pictures of your city that will brighten your mood each time you look up, then that’s perfect. Figure out what makes you happy and follow suit.
Tip #3: Lay it out. Before any holes are nailed into the wall, play around with the layout by placing each piece on the floor. Adjust until you like the way everything fits together, being careful to mix different sizes of art and a variance of frames. Again, there’s no right or wrong way to arrange your wall; however, I’d recommend leaving 2-3 inches of space between each piece. Once you’re happy with the layout, photograph it so you remember where everything is placed.

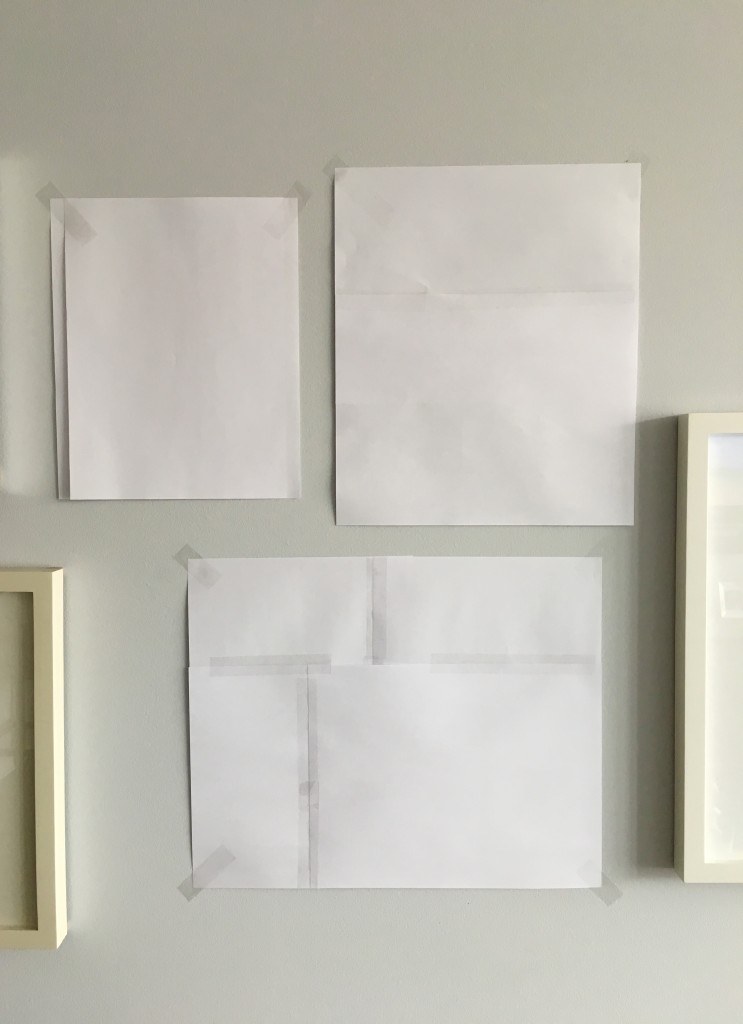
Tip #4: Map it out. There’s an easy trick I like to use for hanging pictures perfectly and with as little fuss as possible. I take plain old computer paper and trace the shape of the frame{s} I’m planning to hang. Some will be smaller than one sheet of paper and other larger pieces will need several sheets of paper taped together. Regardless of size, make sure to create a “dummy” version of each piece you plan to hang and tape them to your wall in your planned layout. Then {and this can take some patience}, leave the sheets of paper taped to your wall for 1-2 days. Doing so give you enough time to really determine if you like your layout or if something needs to be changed. Believe me, it’s a whole lot easier to take down a piece of paper than it is to cover up unwanted holes in a wall.
Tip #5: Measure, measure, {and then measure again}. Last, but certainly not least, measure everything a few times before you pick up the hammer just to be safe!
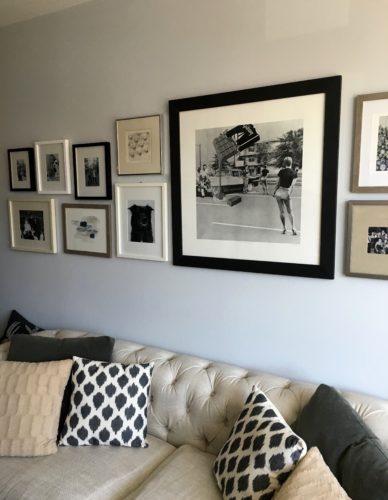
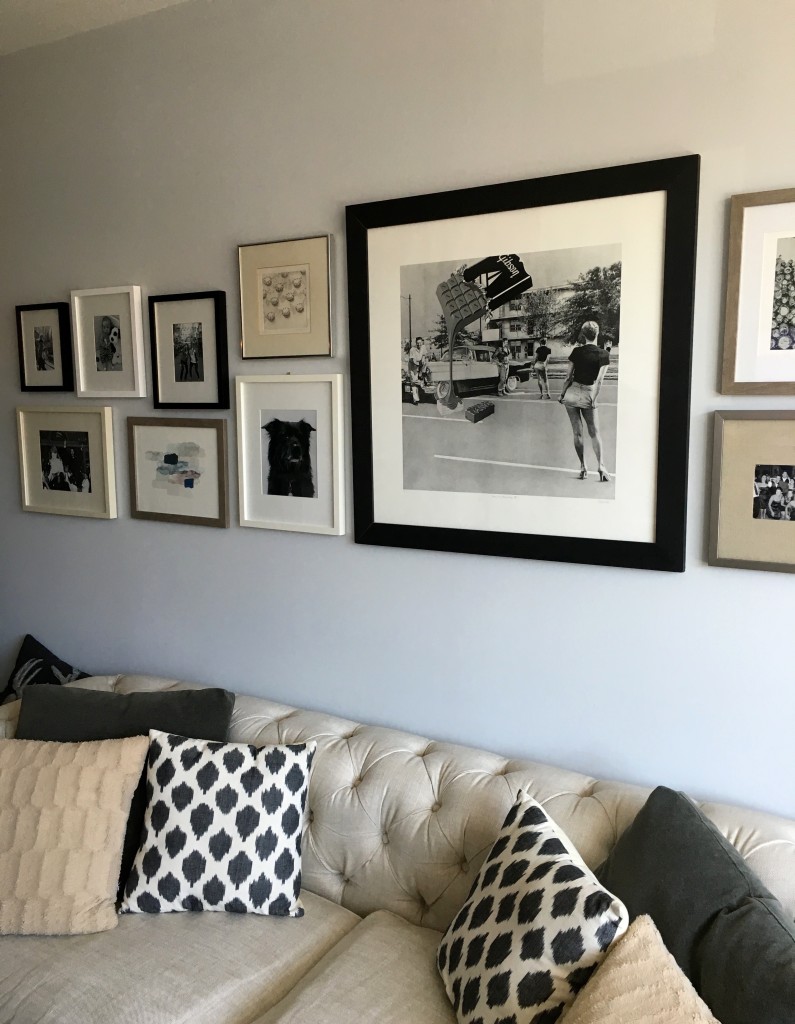
Here’s a look at the final wall:
The best part about a gallery wall is that it can {and should!} be an evolving part of your home. Once the frames are hung, it’s easy to swap photographs or artwork so that your favorite pieces are always on display. Doing so is a great {and inexpensive way} to change the look of your home – and guarantees that you’ll never get bored with that room.
If you’re planning to hang a gallery wall, we’d love to see what you create! Tweet/IG us your pics {@HobokenGirlBlog}! And for more DIY and design inspiration, check out Michelle’s design blog at GirlontheHudson.com.